
What Should You Decide About Sponsor Logos Before Ordering a Custom Motorcycle Race Suit?
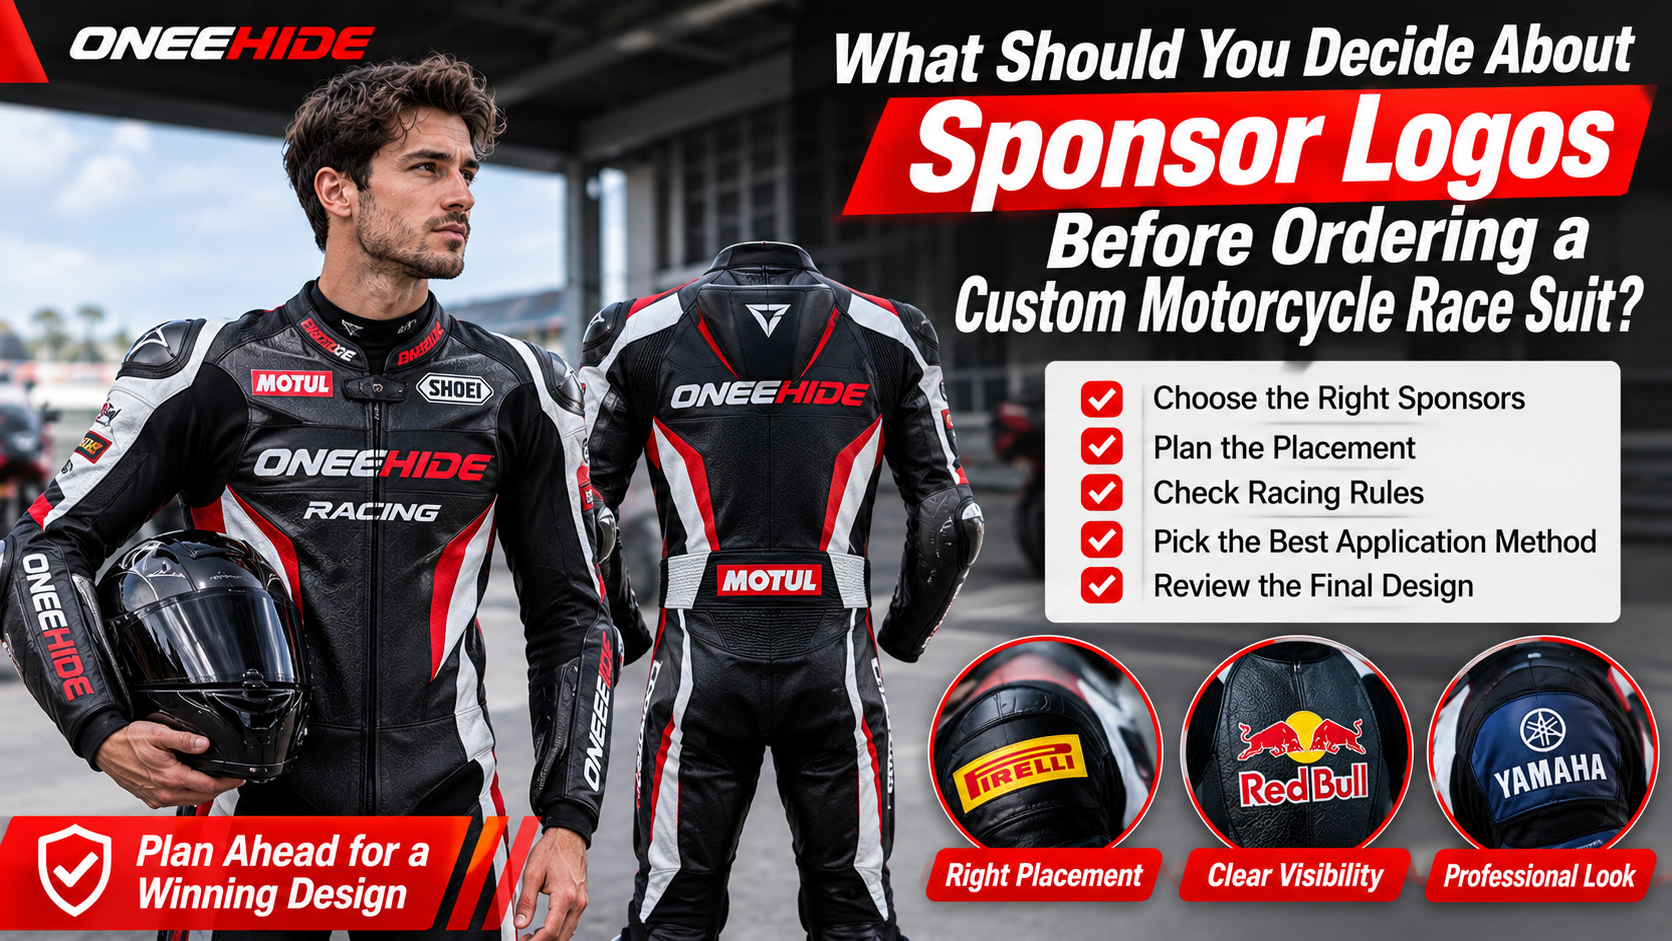
Ordering a custom motorcycle race suit involves more decisions than choosing leather colours and deciding where to place your rider number. If you work with sponsors, represent a racing team, or receive support from motorcycle-related brands, the logos on your suit become part of a larger visual identity. Their placement, size, colour, and production method can determine whether the finished design looks professional or becomes a crowded collection of competing graphics.
The difficulty is that these decisions are easier to resolve before production than after the suit has been manufactured. A sponsor might expect its logo to appear prominently across the chest, while another may require visibility on the back or sleeves. Some racing disciplines also have mandatory markings, rider identification requirements, and restrictions that affect available space.
Planning these details early helps avoid costly artwork changes, conflicting sponsor expectations, and unnecessary modifications to the suit's construction. Before approving a design, riders should establish which brands must appear, what each sponsor expects, where the logos belong, and how the final artwork will be reproduced on the leather.
Why Sponsor Logo Planning Matters Before Ordering a Custom Race Suit
Sponsor logo placement should be treated as part of the original suit design rather than a decorative addition made at the last minute.
A race suit has a limited amount of usable surface area. Its panels are shaped around the rider's body, protective construction, stretch zones, seams, and movement requirements. A logo that looks perfectly positioned on a flat design template may become distorted, partially hidden, or poorly aligned once the suit is assembled and worn.
Riders ordering a custom motorcycle racing suit should prepare their sponsor information alongside their preferred colours, measurements, rider name, and racing number. This gives the designer a clearer picture of the complete layout before production decisions are finalised.
There are several practical reasons to plan early:
-
Sponsor visibility: Important partners receive the agreed visual exposure.
-
Design consistency: Different logos work together instead of competing for attention.
-
Production accuracy: The manufacturer can identify suitable panel locations and artwork requirements.
-
Rule compliance: Mandatory event or championship markings can be accommodated.
-
Cost control: Late additions and artwork revisions are less likely to require additional work.
A good logo layout should look intentional from the front, back, and sides, not just from one attractive promotional photograph.
1. Decide Which Sponsors Deserve Priority on the Suit
The first decision should be establishing a sponsor hierarchy.
Not every partner needs the same amount of space. A title sponsor, equipment supplier, technical partner, and smaller supporting business may have different expectations under their sponsorship agreements.
Giving every logo identical dimensions can make the suit look cluttered. It can also reduce the visibility of the brands receiving the most important sponsorship exposure.
Start by creating a sponsor register containing the brand name, approved logo, sponsorship category, agreed placement, and any visibility requirements.
A simple hierarchy could look like this:
|
Sponsor category |
Suggested placement areas |
|
Primary or title sponsor |
Upper chest and upper back |
|
Major supporting sponsor |
Shoulders and upper sleeves |
|
Technical partner |
Forearms and side torso |
|
Supporting partner |
Thighs, calves, and smaller available panels |
These are design suggestions, not universal racing regulations or mandatory placement rules.
The actual hierarchy should reflect what was agreed with each sponsor. For example, a company providing substantial financial support may have contractual rights to prominent chest placement, while a technical partner might prefer visibility near the relevant equipment area.
Check Sponsorship Agreements Before Designing
Before sending artwork to the manufacturer, review every sponsorship agreement.
Look for details such as:
-
Required logo locations.
-
Minimum logo dimensions.
-
Number of appearances across the suit.
-
Approved logo variations.
-
Colour and background requirements.
-
Whether logos must appear on both sleeves.
-
Sponsorship duration and renewal conditions.
-
Any restrictions involving competing brands.
Category exclusivity deserves particular attention. A tyre supplier, lubricant company, or motorcycle equipment partner may have restrictions concerning competing brands appearing on the same racing suit.
Do not assume that a sponsor will accept a smaller placement simply because the overall design looks better. Confirm the arrangement before approving the artwork.
2. Obtain Permission and the Correct Logo Files
A sponsor's logo should never be recreated from a random image found through Google Images.
The correct approach is to request official artwork directly from the sponsor or its authorised marketing representative.
Logos can be protected through trademark rights and, depending on their design, copyright. The U.S. Copyright Office's guide to visual artists and copyright explains the rights copyright owners can have over original visual artwork, including the right to authorise copies and adaptations.
Legal requirements depend on the relevant jurisdiction and the particular logo. Obtain written approval to reproduce each sponsor's branding on racing apparel rather than assuming that permission to promote a business automatically includes permission to modify its artwork.
Which File Formats Should You Request?
The quality of the supplied artwork affects how accurately the logo can be reproduced.
Vector files are generally preferable because they can be resized without the same pixelation problems associated with enlarging small raster images.
Useful formats include:
|
File format |
Typical use |
|
AI |
Editable Adobe Illustrator artwork |
|
EPS |
Vector artwork for production workflows |
|
SVG |
Scalable vector graphics |
|
|
Vector artwork when correctly exported |
|
PNG |
High-resolution raster artwork with transparency |
If a sponsor only has a PNG or JPG, ask for a sufficiently high-resolution version suitable for the actual production size. A small logo downloaded from a website may look acceptable on a phone but become blurry when enlarged across a chest panel.
Also request the sponsor's official colour specifications, including Pantone or other production references where available.
Keep Different Logo Versions Organised
Some sponsors provide multiple versions of their branding:
-
Full-colour logo.
-
White version for dark backgrounds.
-
Black version for light backgrounds.
-
Horizontal wordmark.
-
Vertical wordmark.
-
Symbol-only version.
Make sure the designer uses the version approved for the intended application.
Avoid stretching, rotating, changing proportions, or adding effects to a sponsor's logo without permission.
3. Decide Where Each Sponsor Logo Should Appear
Placement is one of the most important decisions because different suit panels provide different levels of visibility.
A logo positioned on the upper chest may be clearly visible in photographs taken from the front, while a logo on the calf may be more noticeable in certain riding or standing positions.
The designer should consider both the sponsor's requirements and the way the rider's body moves.
Chest and Upper Torso
The chest is commonly used for primary sponsor placement because it provides a prominent front-facing area.
However, the available space is affected by the suit's front closure, panel construction, protective features, and required markings.
A large logo should not cover important construction details or make the front design excessively busy.
Upper Back and Back Hump
The upper back can be a valuable location for sponsor visibility, particularly in photographs taken from behind.
However, riders using aerodynamic humps or integrated airbag systems need to consider the available space carefully.
Do not place artwork over a functional airbag panel or interfere with an airbag's expansion area unless the suit manufacturer has explicitly approved the arrangement.
Shoulders and Sleeves
Shoulders and sleeves are useful for smaller supporting sponsors.
Their visibility changes as the rider bends the arms and adopts a forward-leaning position. Logos positioned too close to curved seams can also become distorted.
Consider the following:
-
Sleeve circumference.
-
Elbow protector position.
-
Stretch-panel locations.
-
Arm movement.
-
Logo orientation when the rider is seated.
Thighs and Lower Legs
The thighs and lower legs can accommodate secondary branding, but the designer needs to consider knee sliders, reinforcement panels, and other protective components.
Logos should not be placed where they will be regularly scraped, folded, or obscured by boots and riding equipment.
A placement map showing the front, back, left side, and right side is much more useful than a general instruction such as adding the remaining sponsors wherever space is available.
4. Check Racing Rules and Mandatory Suit Markings
A custom racing suit is not necessarily governed by the same advertising rules in every championship.
FIM championships, national racing organisations, and individual series can have different requirements for rider identification, mandatory logos, sponsor visibility, and technical equipment markings.
For example, the 2025 FIM Track Racing Technical Regulations contain specific requirements for Speedway Grand Prix race suits.
Under those rules, the front of the SGP suit must display the national flag in the middle of the chest at a minimum height of 50 mm, the FIM logo on the rider's right side at a minimum height of 30 mm, and the SGP logo on the left side at a minimum height of 20 mm.
The regulations also require the championship's main sponsors to appear on the chest. The back must display the rider's name and racing number, with a minimum number height of 105 mm. Required markings must remain clearly visible.
These are specific SGP requirements, not universal measurements for every motorcycle racing suit.
The FIM Track Racing Technical Regulations provide an example of why riders should check the actual rules applicable to their competition before finalising sponsor placement.
For a major championship, consult the current technical and sporting regulations or ask the team manager or technical official to confirm the requirements.
Do Not Confuse Sponsor Artwork With Safety Certification Markings
The suit may also need permanent identification or compliance markings.
The 2026 FIM Grand Prix World Championship Regulations specify particular marking requirements for protective equipment, including leather suits.
They also address the material characteristics and protective construction of the suit.
This matters because adding decorative artwork is not a reason to alter an approved protective structure. A designer and manufacturer should confirm that the chosen logo application method is compatible with the suit's construction.
5. Choose the Right Logo Size, Colour, and Visual Hierarchy
A logo can be technically present on a suit but still fail to provide useful visibility.
For example, a small dark logo placed against a black leather panel may become difficult to recognise from a distance. Similarly, an oversized sponsor mark can overpower the rest of the design.
The goal is to create a clear visual hierarchy in which the most important sponsors receive appropriate prominence without making the suit look like an advertising board.
Consider Contrast Against the Leather
Contrast matters because sponsor colours may need to appear on panels with different backgrounds.
A white logo may work particularly well on a black or red panel, while a coloured logo may require a light background to preserve its original appearance.
Before approving the design, check:
-
Logo colour against the underlying leather.
-
Visibility at normal viewing distance.
-
Readability of small text.
-
Proportions and spacing.
-
Consistency between both sides of the suit.
Avoid Excessive Logo Clustering
Too many logos placed close together can make individual brands difficult to distinguish.
Leave suitable space between important marks and avoid squeezing several sponsors into a small section.
A useful approach is to establish the main sponsor first, then arrange supporting logos around the remaining available panels.
The result should look balanced from a full-suit perspective.
6. Decide How Logos Will Be Applied to the Suit
The application method should be discussed with the suit manufacturer before the design is approved.
Different production methods have different appearance, durability, and construction considerations.
Common possibilities include:
|
Application method |
Design characteristics |
Important consideration |
|
Printed graphics |
Detailed colours and gradients |
Confirm compatibility with the leather and finishing process |
|
Heat-applied transfers |
Smooth, integrated appearance |
Confirm temperature and material compatibility |
|
Leather patches |
Distinctive raised or separate appearance |
Check attachment and construction requirements |
|
Embroidered patches |
Textured finish |
Consider thickness, stiffness, and attachment points |
|
Molded rubber or TPU |
Raised three-dimensional appearance |
Confirm flexibility and approved positioning |
No single method is automatically suitable for every leather suit.
For instance, embroidery may create an unwanted stiff section if used in an area designed for flexibility. A patch may also require attachment work that the manufacturer does not recommend on a particular panel.
Ask the manufacturer which application method is appropriate for the selected leather, stretch panels, and protective construction.
Do not assume that a logo can safely be stitched, perforated, or attached anywhere simply because the surface appears suitable.
7. Request a Complete Design Proof Before Production
A design proof is one of the most important documents in a custom suit order.
It allows the rider to examine how the logos, colours, numbers, and other design elements will appear before the suit is manufactured.
Do not approve a design based only on a front-facing image.
Request clear views of:
-
Front.
-
Back.
-
Left side.
-
Right side.
-
Both sleeves.
-
Important sponsor details at larger scale.
Check that every sponsor is represented correctly and that the agreed placement has been followed.
Inspect the Proof at Two Different Levels
First, zoom in.
Check the spelling, logo proportions, symbols, colours, and artwork quality. Make sure the designer has not used an outdated sponsor logo or stretched an original file.
Then zoom out.
Look at the complete suit as a single design. The main sponsor should be easy to identify, supporting logos should remain distinguishable, and the colour arrangement should look balanced.
Also consider how the suit will appear when the rider is wearing it. Panel curves, seams, riding posture, gloves, boots, and aerodynamic humps can change the appearance of the artwork.
A flat design image is a useful starting point, but it is not a substitute for understanding how the graphics fit the actual garment pattern.
8. Confirm Pricing, Production Time, and Changes Before Approving
Sponsor customisation can affect the final cost of a suit.
The price may depend on the number of logos, artwork complexity, number of colours, application method, additional patches, and any special production requirements.
Ask for a written breakdown before approving the order.
Also clarify what happens when a sponsor changes its logo or withdraws from a partnership after the design has been approved.
Changes made before production may be easier to accommodate than revisions requested after the leather has been cut or the graphics have been applied.
Keep the following information together:
-
Final sponsor list.
-
Approved logo files.
-
Placement instructions.
-
Colour references.
-
Final design proof.
-
Confirmed production price.
-
Expected completion date.
-
Written approval of the final version.
If a sponsor is likely to change during the racing season, ask whether the manufacturer can accommodate future panel or graphic replacements without compromising the suit's construction.
A Practical Sponsor Logo Approval Checklist
Before authorising production, review this checklist:
-
Every sponsor has approved its logo for use.
-
Current sponsorship agreements have been checked.
-
The main sponsor has the agreed level of prominence.
-
Secondary sponsors have appropriate locations.
-
Official, high-resolution artwork has been supplied.
-
Logo colours and proportions are correct.
-
Sponsor logos are not unnecessarily crowded.
-
Mandatory racing markings have been confirmed.
-
The application method is approved by the manufacturer.
-
Logos do not interfere with protective or functional suit areas.
-
Front, back, and side design proofs have been reviewed.
-
The rider's name and racing number are correct.
-
Final pricing and production details are confirmed.
-
The exact approved artwork revision has been recorded.
A useful final step is to ask the designer to provide one consolidated version of the approved artwork rather than approving separate changes through scattered emails and messages.
That way, both the rider and manufacturer have a clear reference for the exact suit that has been authorised for production.
Sponsor logos should be part of the original design brief, not an afterthought added when the suit is nearly finished. By confirming permissions, sponsor priorities, placement, artwork quality, technical restrictions, and production details beforehand, riders can create a suit that represents their partnerships professionally while respecting the construction and protective purpose of the garment.
Add a scannable opening answerStrengthen the buyer-focused call to action

 English
 Arabic
 French
 Spanish
 Portuguese
 Deutsch
 Turkish
 Dutch
 Italiano
 Romaian
 Portuguese (Brazil)
 Greek